
Boost your SEO and Increase Sales with my Blogging Checklist
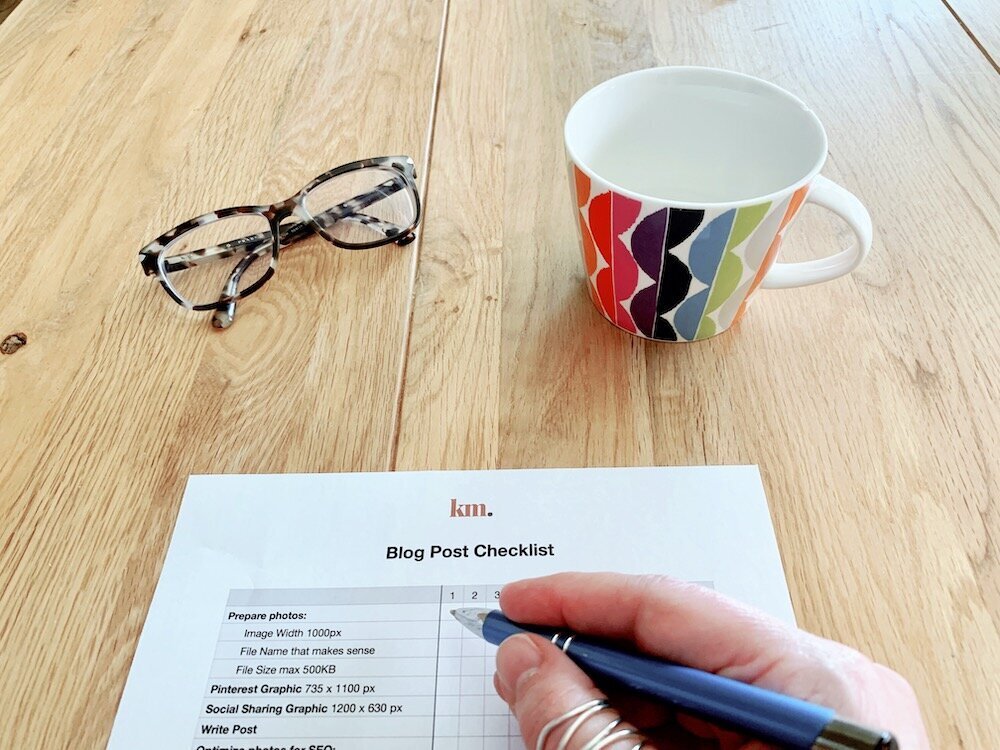
We all know that blogging is important for SEO, and it can also help grow your audience and increase the sales of your products or services.
But blogging is not just about writing a post and hitting publish! There are actually quite a few steps to be taken if you want to make sure you get the most out of your blog posts. Things like:
Making sure your images are sized correctly for optimal page speed.
Optimizing your images for SEO.
Adding the correct qualifier to affiliate links.
Creating and adding a social image for sharing.
Optimizing the blog post SEO title and description.
And more…
I won’t lie, sprinter-me does not like all these extra steps! But thankfully I am a bit of a checklist geek and so I decided to create a blogging checklist that makes sure I don’t miss any of these steps!
Bonus: if you have a VA you can just write the post and then give this checklist to them to finish it :)
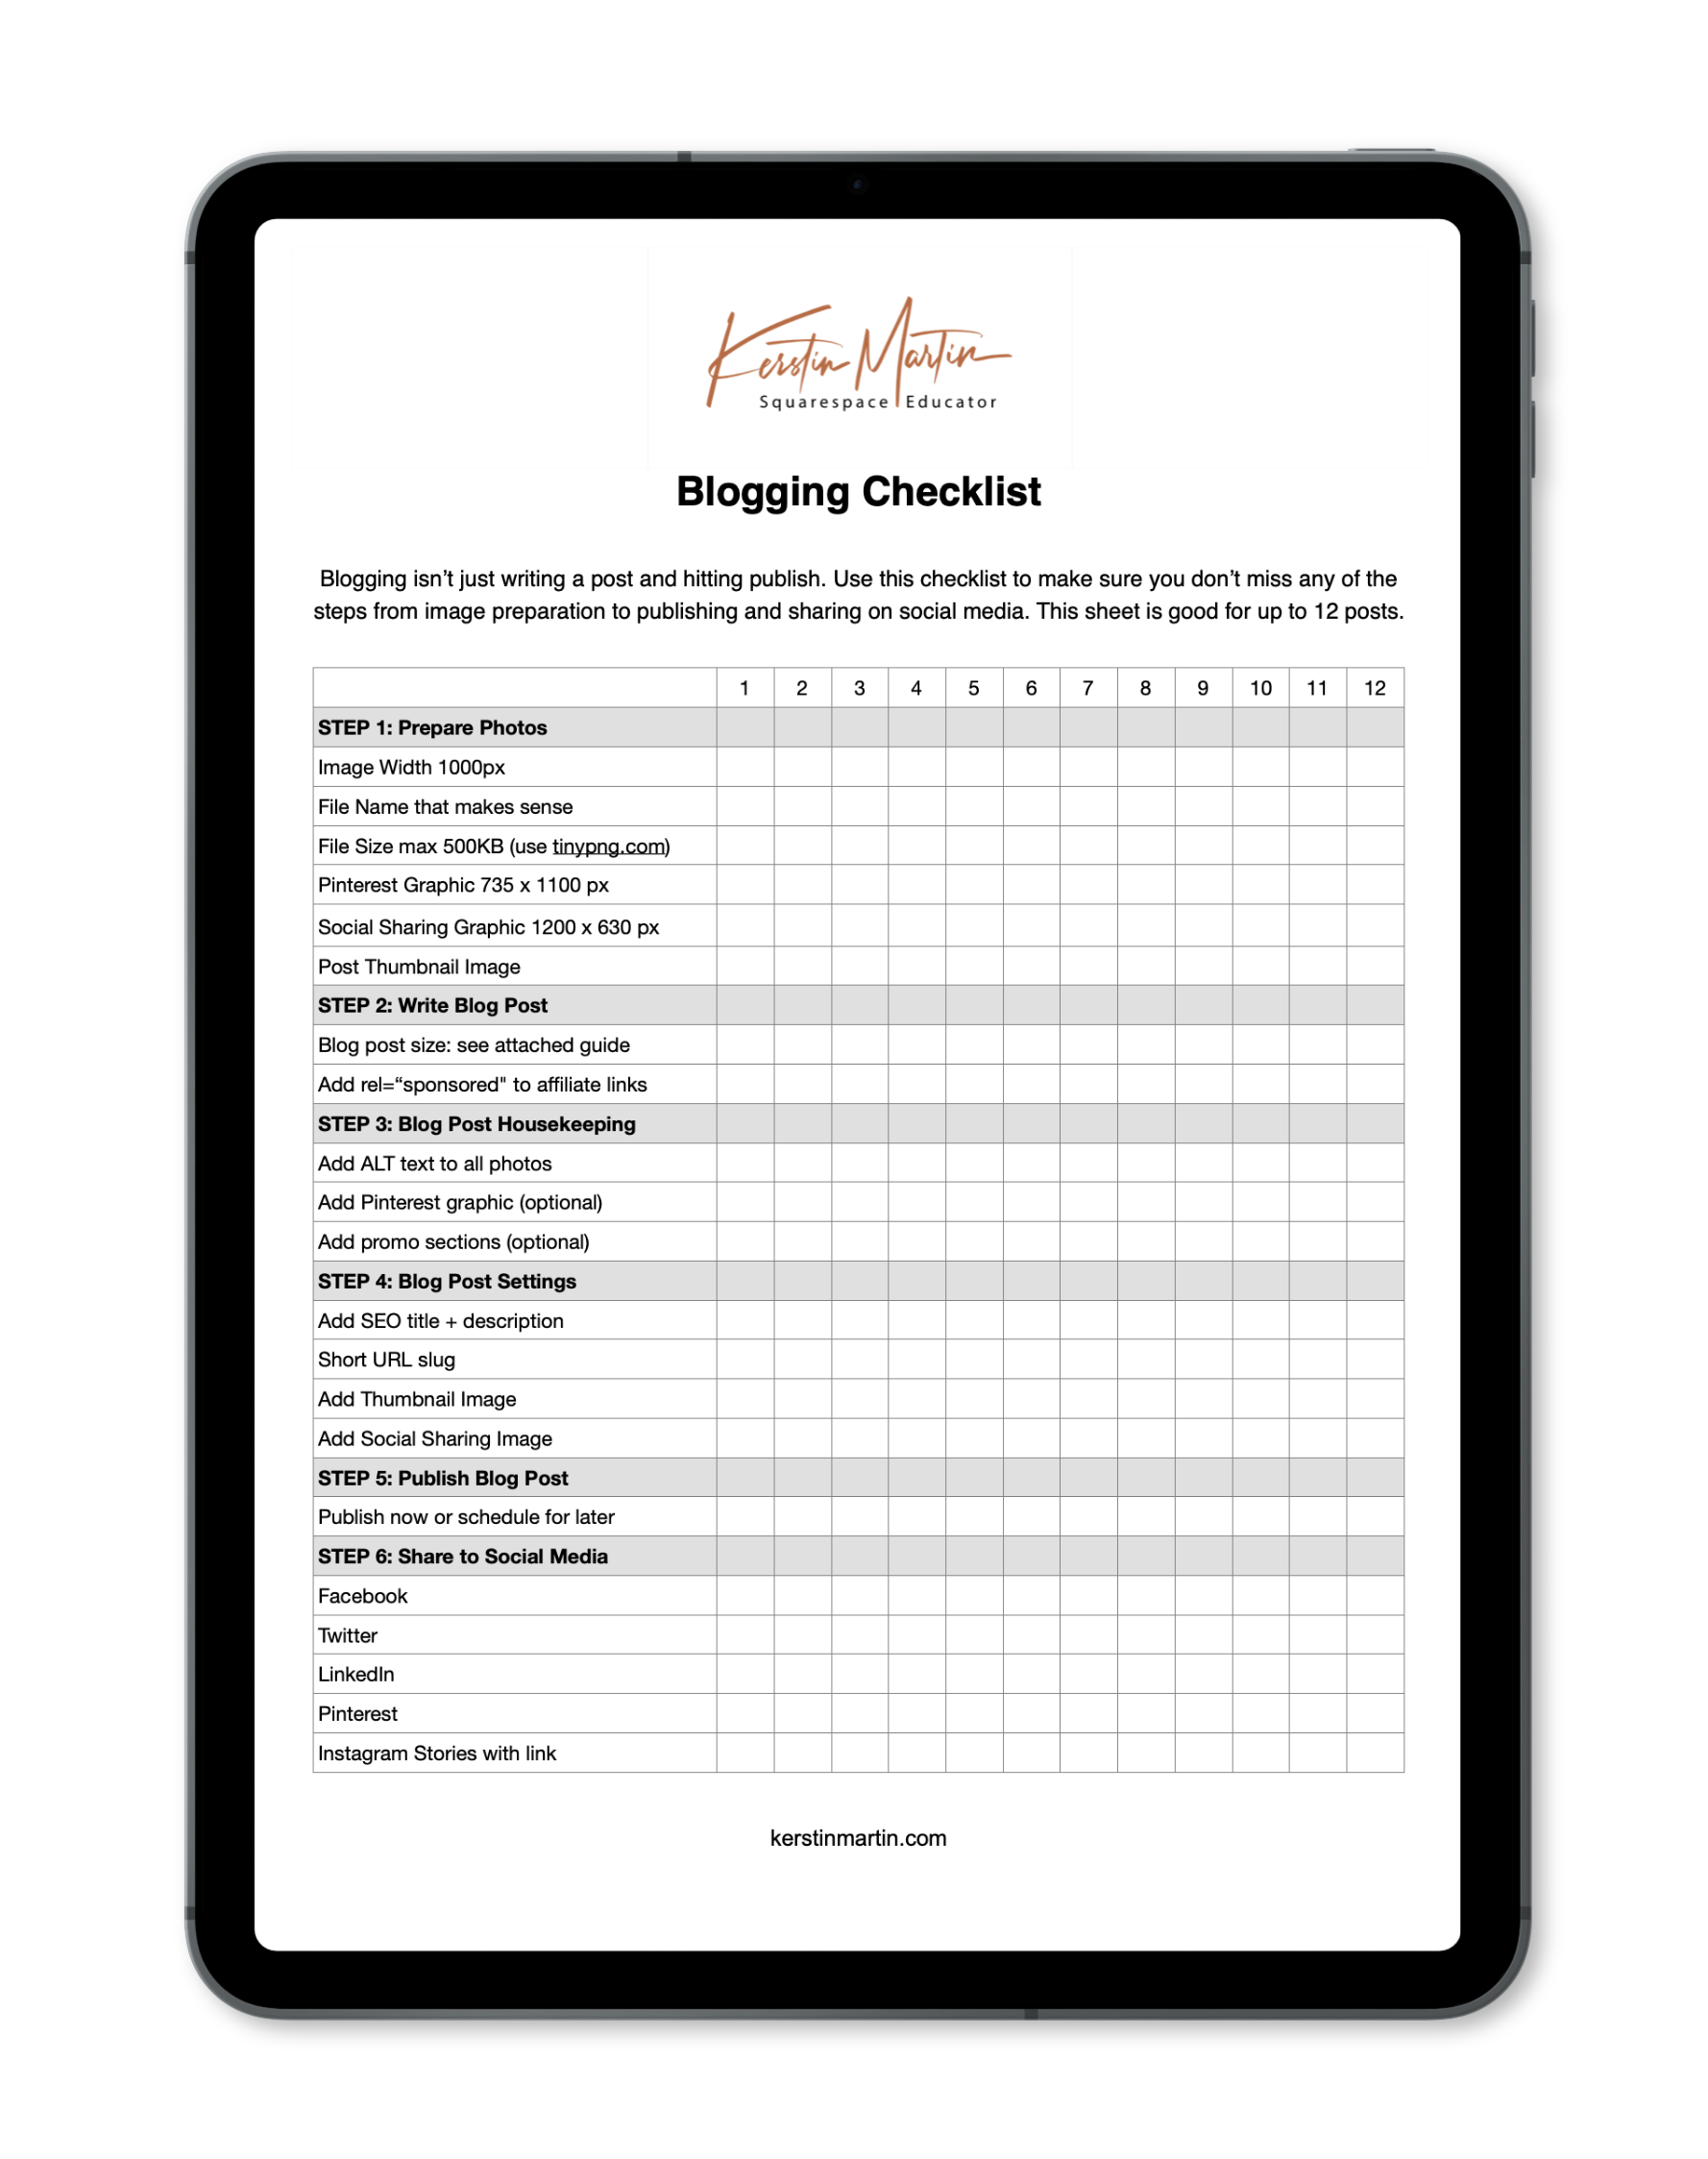
Get the Checklist
The blogging checklist is part of my Calm Business Library, which contains lots of other goodies as well.
Checklist Steps
Step 1
Prepare Photos
Image width 1000 px. This is for any images you use in your blog post. If you have a Mac here is an easy wayto resize photos.
Change image file name to something that makes sense.
Compressfile size below 500 KB. I love using tinypng.com for this.
Create the Featured Image. This is what appears on the main blog page, I make mine square.
Create Social Image. The size I use is 1200 x 630 px which is Facebook’s recommended size and also works really well for LinkedIn. Here is a post I wrote about Social Sharing images. Again, Canva is a good app to create this.
Create a graphic for Pinterest if you use Pinterest (I don’t). The size should be 735 x 1100 px. Canva is a great app for this!
Step 2
Write your blog post!
Here are some recommendations on the size of blog posts.
Add photos and ALT Text to each image (important for SEO!).
Add rel=“sponsored" to affiliate links. This is not so straight forward in Squarespace, here is a blog post on how to do this.
Make sure links to external websites open in a new tab or window. You don’t want to send people away from your website while they are reading a blog post!
Proofread your post!
Step 3
Promote & Sell
Add a Pinterest graphic, most people do this either at the top or the bottom of the post. I’ll admit, I am not a Pinterest fan, I find it way too overwhelming, and I don’t use. Alas, Pinterest is an important search engine and can be a very effective marketing tool. So if you love Pinterest then definitely do this!
Adding a promo section to your blog post is an easy and very effective way to grow your audience and increase your sales. Types of promo sections:
Newsletter sign-up
Lead magnet sign-up
Affiliate product link
Promote your own products or services
Step 4
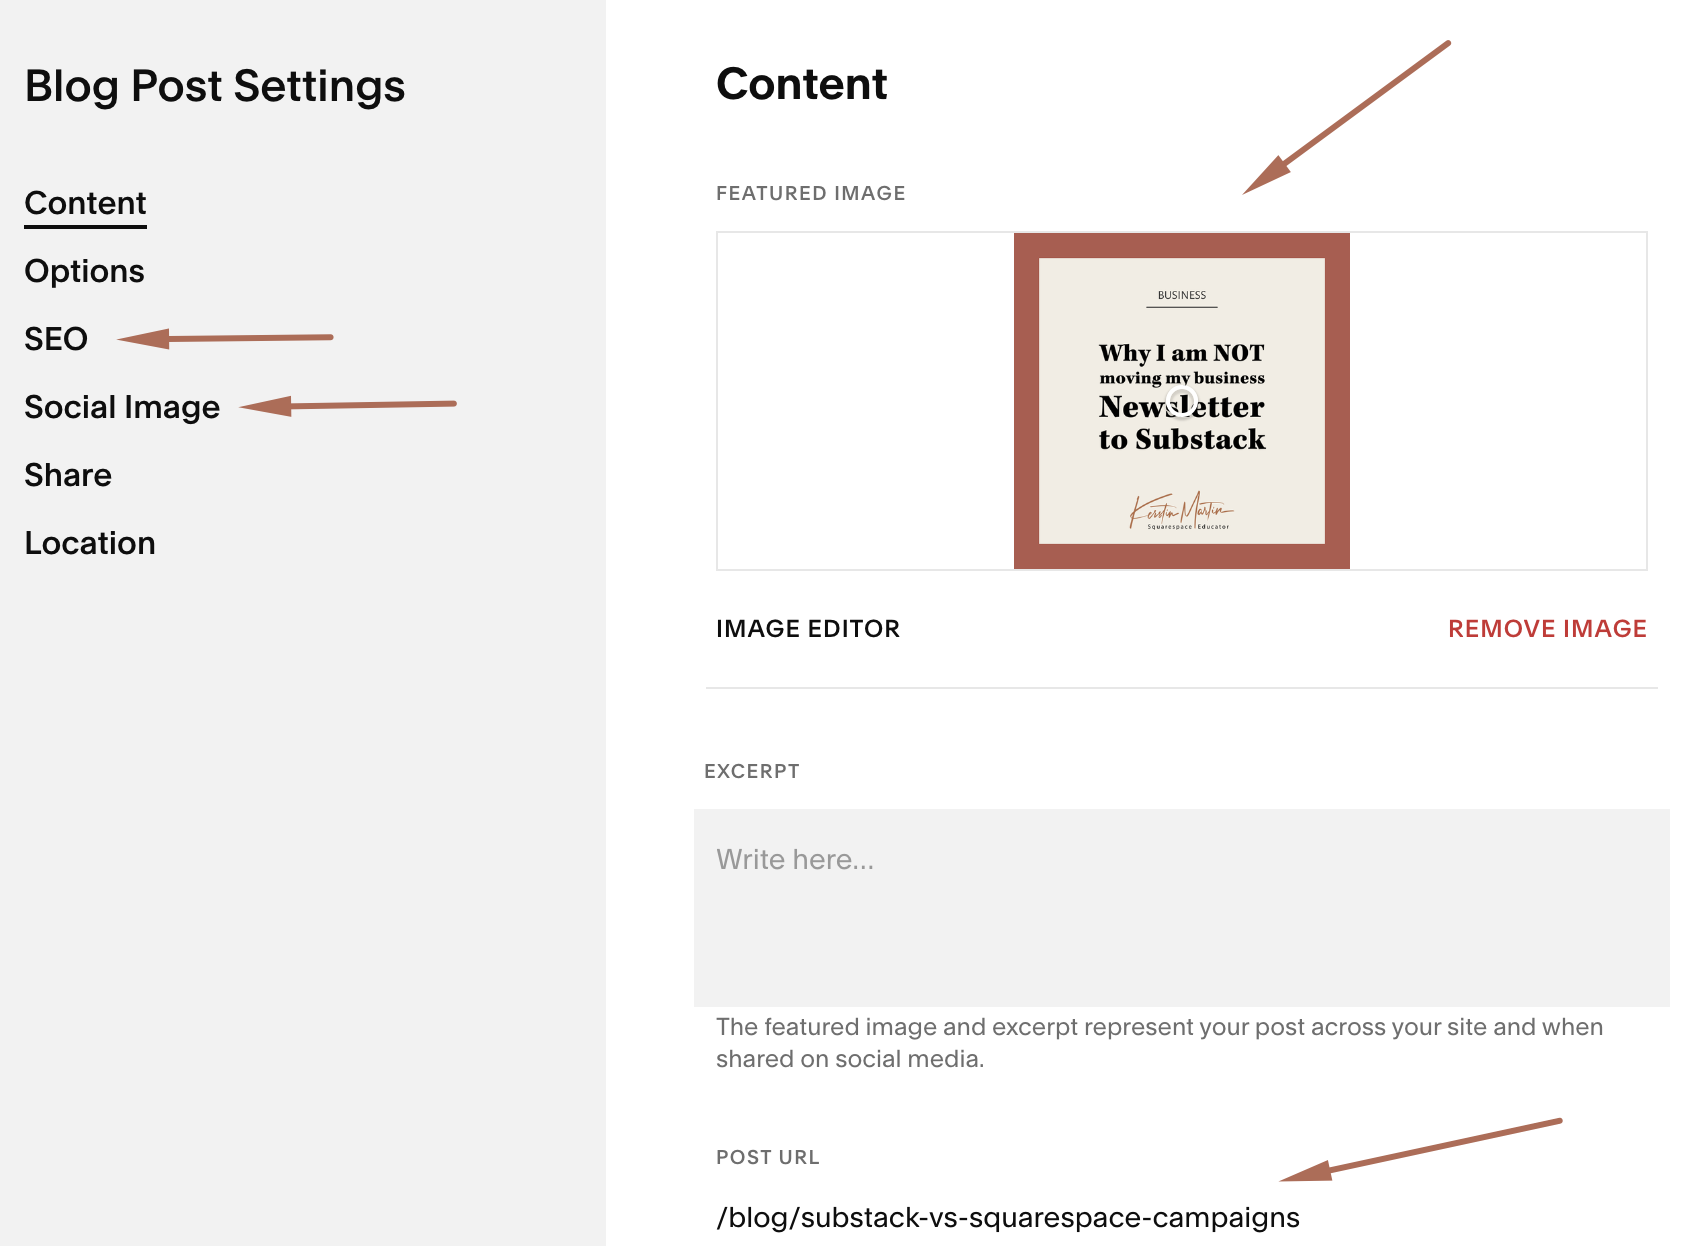
Blog Post Settings
Add SEO title and description
Shorten the URL slug if needed
Add the Featured Image
Add the Social Image
Step 5
Publish or schedule blog post
Step 6
Share to Social Media
I usually share to:
Facebook
Twitter
LinkedIn
Instagram story with link
While there is a way to semi-automate this I usually just do it manually, using my own share buttons (except for Instagram).
☞ Note: Squarespace 7.1 does not have share buttons! I recommend using a 3rd party share button provider, e.g.
ShareThis (free - this is what I use)
Shareaholic (free)
Elfsight (paid)