
Help! My PNGs Look Fuzzy in Squarespace!
Have you ever used a PNG image - for an icon or logo mark for instance - and wanted to tear your hair out because PNG's look so fuzzy in Squarespace? I know I have!
I have tried various methods to compound this issue:
Using a large image file (1500px is always ideal in Squarespace) and spacers to make it smaller on the page. However, while this can render a decent image on larger monitors and tables, it will render a huge looking image on mobiles because Squarespace removes spacers for smaller screens. Plus, even with the spacer you can't always get the desired size.
The above method is also a problem if you use it in blog posts and have AMP turned on. AMP also removes spacers so even on a desktop any images in the blog post get blown up to 100% width of the post. Not ideal at all.
So what I have done for the longest time is just use a smaller image in "real time" size, e.g. anywhere between 60-100px. But while this renders a good size on mobiles it also makes the PNG look very fuzzy.
Creating a wider image file with lots of transparent buffer background to the left and right of the icon or logo mark. This worked to a degree but was still not ideal as it rendered images too small on mobile and even tablet views, it required a lot of fiddling around with the file width to get it to look halfway decent on all screen sizes.
This drove me crazy.
But I admit, I put up with this for the longest time because I just didn't know what else to do and could not find any satisfactory answers via Google or Squarespace Help, either.
Then, last week, I finally decided that I needed to find a better way. I am not a coder so any solution had to be simple and mostly doable via CSS. I asked myself:
What if I could create a class in Squarespace just for my icons and then use CSS to size and style them? Well, as it turns out, creating a new class is easy!
And that changed everything!
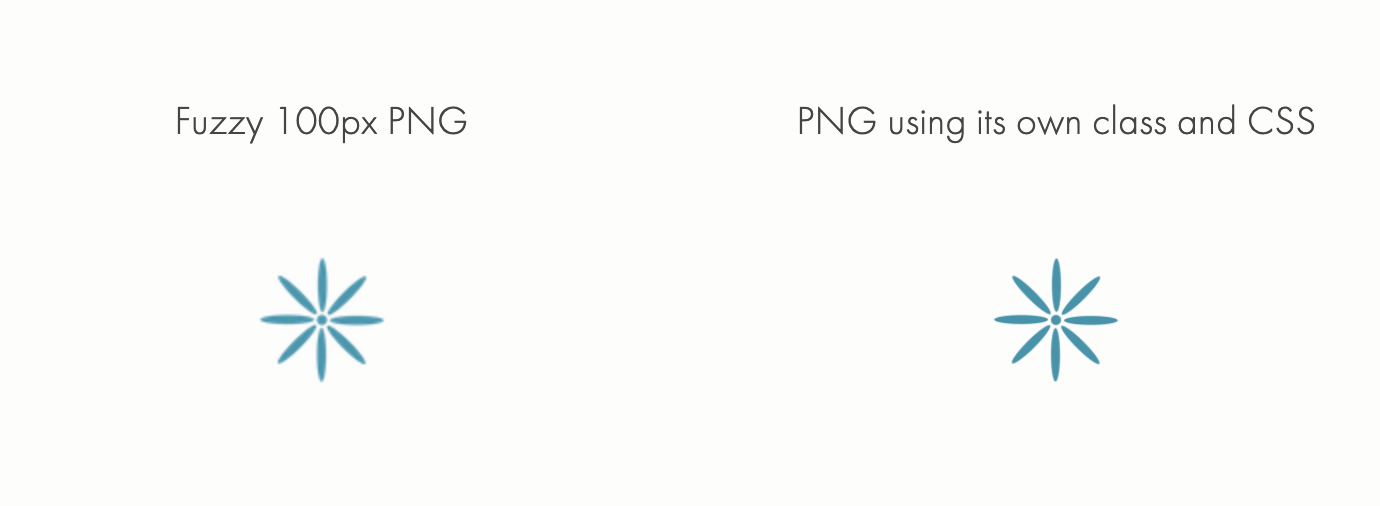
How to create crisper PNG images and icons in Squarespace
Add this code to your Custom CSS:
// Logo Mark
.logo-mark {
   background-image: url("") !important;
   background-size: contain;
   background-repeat: no-repeat;
   background-position: center;
   height: 150px;
 }
Upload your PNG file via the Manage Custom Files section in your Custom CSS
Put your curser between the url quotation marks after background-image and then go to the custom files and select your PNG. This will place the file location URL between the quotation marks.
Save your custom CSS.
Go to your webpage and insert a Markdown Block in the desired location. Add this code to your Markdown Block:
<div class="logo-mark"></div>Save your page.
Go back to your custom CSS and style the PNG as desired, you can change its size for instance by using different values for the height.
Note:
You can create your own class names! So instead of logo-mark use whatever you like and make sure you use the same name in your CSS code as well. For instance:
<div class="my-png"></div> → .my-png
Where to get help
I regret that I am unable to offer technical support via the comment section, thanks for understanding! Here are some support options:
1. Private Support Group
If you are one of my students and in my support group feel free to ask questions there!
2. Free Facebook Groups
Otherwise I can highly recommend any of these free Facebook groups where people are always very helpful.
→ Squarespace Rockstars
→ Squarespace Community
→ Squarespace Entrepreneurs
→ Squarespace Custom CSS Resource Group
→ Squarespace SEO support for photographers
→ Squarespace for Bloggers and Creatives
3. Hire Help
Reach out to Chris Schwartz-Edmisten who is an awesome CSS and Squarespace expert
4. Take a Course
Take Chris Schwartz-Edmisten's awesome CSS Toolbox course and learn all about CSS basics and lots of nifty swipe code to up-level your designs. I am a happy affiliate of this course so I earn a small commission if you purchase it, at no extra cost to you.